Planting Green Amaranth: See How To Grow Green
Green amaranth is one of the vegetables used for cooking in Nigeria
They are used in soup, sauce and stew.
In Nigeria the common specie is Amaranthus Hybridus with is readily available in the market,

Other species in the country are Amaranthus Viridis, Amaranthus spinosus; they are all referred to as green amaranth.
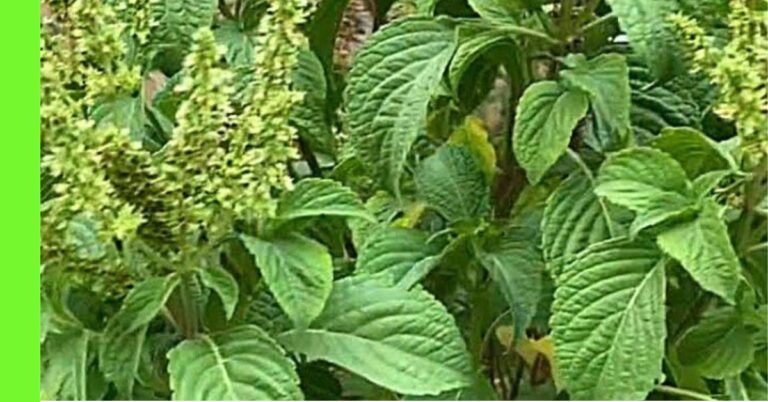
Description of Amaranth (Green) Plant
This is a brief description of the amaranthus hybridus species.
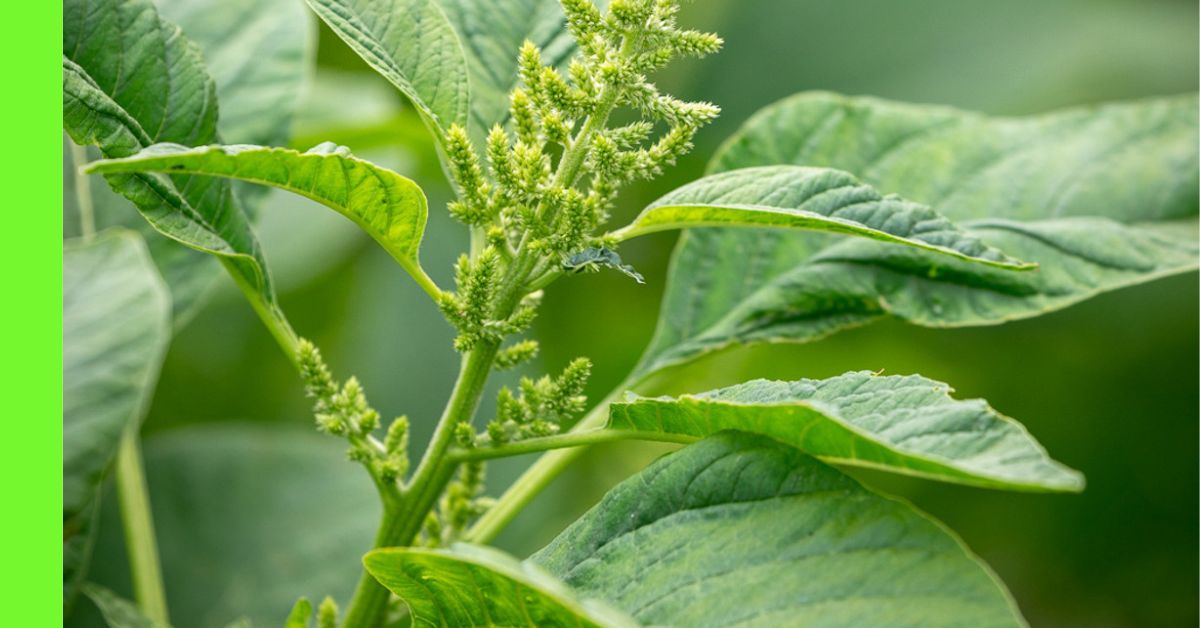
The plant is an erect annual herbaceous plant which reproduces only by seeds.
It consists of the roots (tap root), upright stem which most times branches out, the leaves and tassel (flower).
The stems are green in color sometimes tinted with red, thick and can grow up to a height of about 100 cm (39.3 in), the branched stem can grow from 10 cm (3.9 in) to 50 cm ( 19.6 in).
The leaves are simple (undivided), there is one leaf per node along the stem, the edge of the leaf blade has no teeth or lobes.
The flowers are light green or yellowish green in colour,
Seeds are round, black or dark brown in colour, shiny,with a diameter of 1-1.5 mm.
Planting Season For Green Amaranth
Amaranth (Green) can be grown at any time of the year as long as it’s been watered properly.
It’s a common practice by many to grow green during the rainy season,
Which is usually between March to October.
It’s easier to grow it during the rainy season; you don’t have to worry about watering it.
That’s why it’s usually in abundance in the market during this time,
And the price is low.
On the other hand green amaranth grows very well too during the dry season
Which is usually between November to February.
The crop will thrive if well watered by irrigation.
Planting Green Amaranth
Step 1: Choose a Location
Choose a location that’s not water logged
Ensure it’s open to good amount of sunlight
Although green (amaranth) can thrive on any kind of soil or good yield sandy – loamy soil is best.
Step 2: Land Clearing and Preparation
Once a good location has been chosen
Remove weeds, shrubs or dirt from the soil,
Do the same if you’re planting in containers
Till the soil
Add manure to it and incorporate it into the soil.
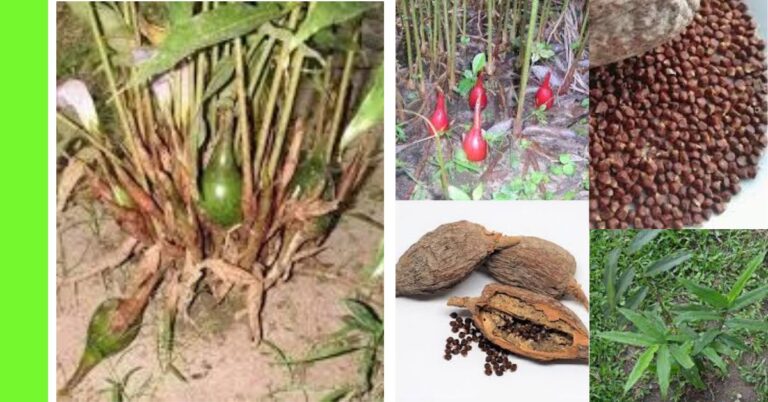
Step 3: Means of Propagation (Seed Selection)
Green is propagated through the seed
Buy seeds from the market, garden store or collect seeds from an amaranth plant.
If you have a green amaranth plant at home you can harvest seeds from them.
How to harvest seeds from green amaranth plant
To collect seeds from an existing plant
Select one or two plants, (the number of plants depends on the quantity of seed you want to harvest).
Leave the selected plants to grow without harvesting leaves from them.
Harvesting leaves from the plant delays the production of flowers.
Once the plant begins to produce flowers or tassels
Do not tamper with it until it begins to dry
The flowers (tassels) are green at the beginning when they start to dry they begin to turn yellow.
Once this happens, cut off the tassel with a knife or scissor
Over a tray with your palm rub the tassel on both hands
This separates the seed from flower
You’ll begin to see tiny black or dark brown seeds drop down
Carefully blow out the tassels and what’s left on the tray are the black seeds.
Use for planting immediately or store in a dry container or nylon until ready for planting.
Step 4: Planting
Make a bed
On the bed make rows about 1.3 cm (½ in) deep
And the spacing between each row is about 30 cm (11.8 in).
Spread the seeds in each row and cover up with soil.
After about a week after germination thin the crops, you can transplant the plants taken out to a different spot.
On the other hand this bed can serve as your nursery
Once the plant has germinated and grown for about a week
Transplant it to the chosen location
With a spacing of 30 cm (11.8 in) by 15 cm (5.9 in)
Nursery trays can be used as well.
Step 5: Water
Water the plant immediately after planting
at least once a day water the plants.
They require a good amount of water to grow well, that’s why they thrive well during the rainy season.
But if you are growing them in the dry season ensure to give the plant a good amount of water.
Maturity and Harvest
Germination starts 10 to 15 days after planting.
Harvesting can begin as early as 2 – 3 weeks after germination or 6-8 weeks after planting.
They are harvested by pulling out the whole plant from the root (thinning) or by cutting from the stem (clipping)
Regular harvesting extends the harvest period.
When cutting the stem use a knife or scissor.
Storage
Wrap fresh vegetables in paper, Ziploc bag or nylon and place in the fridge.
Wash, slice and put cut vegetables in a nylon (Ziploc bag) and place in the freezer.
Soil Fertility
Apply compost to the soil before planting,
Continue to apply manure to it after every two to three weeks.
Pest and Diseases
Diseases
Virus
- Potyviruses,
- Cucumber mosaic virus (CMV)
- Poleroviruses, and
- Begomovirus infection
Fungi
- Anthracnose (Colletotrichum gloeosporioides)
- Damping-off (Rhizoctonia spp) and (Pythium spp).
- Wet rot (Choanephora cucurbitarum)
Pests
- Amaranth stem weevils
- Beet webworm
- Leaf miner
- Aphid
Pest and Disease Control
- Use disease-free seeds.
- Avoid over watering.
- Avoid dense planting.
- Destroy affected plants.
- Weed regularly