Crop Transplanting Tips and Minimizing Transplant Shock
Transplanting is a crucial gardening and farming practice that involves moving a plant from one location to another.
This process can be stressful for plants, leading to transplant shock, which can stunt growth or even cause plant loss.
However, with the right techniques and strategies, you can minimize transplant shock and ensure your plants thrive in their new environment.

This article will explore essential tips and ways to reduce transplant shock.
When transplanting several factors are very important some of which are:
- Timing
- Soil Preparation
- Watering
Choosing the Right Time
Timing is crucial when transplanting plants, in our tropical climate, which consists of rainy and dry seasons.
Here are some general guidelines:
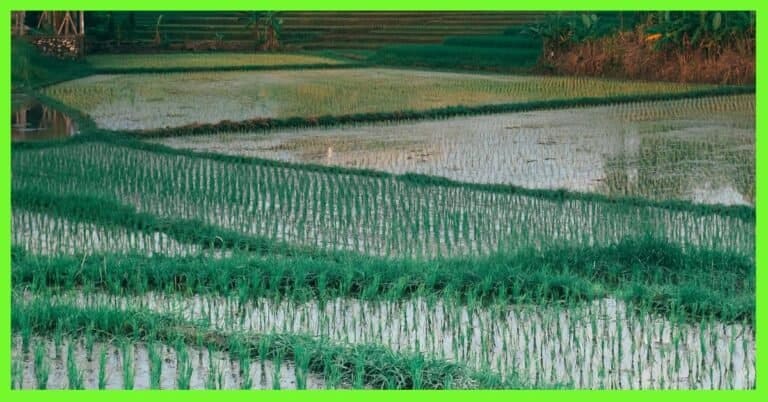
- Early Rainy Season (March-May): This is the best time to transplant most crops and garden plants as the soil is moist, temperatures are moderate, and rainfall helps reduce water stress.
- Late Rainy Season (August – October): Another suitable period for transplanting, as temperatures start to cool and there is still sufficient rainfall to support root establishment.
- Avoid the Dry Season (November – February): Transplanting during this time can be risky due to high temperatures and low moisture levels, which increase the chances of shock. Transplanting at this time requires frequent irrigation and shading.
- Early Morning or Late Afternoon (Evening): To prevent excessive moisture loss and heat stress, transplanting should be done in the cooler parts of the day which is usually early in the morning before sunrise or evening after sunset.
- Cloudy Days: Overcast conditions reduce evaporation and give plants a better chance to adjust to their new location without excessive water loss.
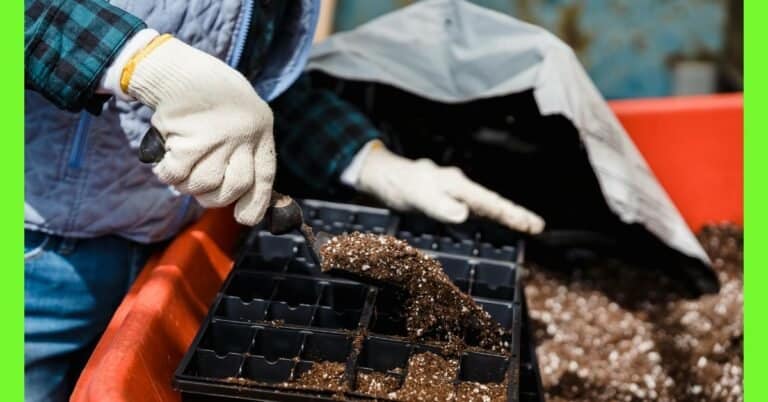
Soil Preparation
Proper soil preparation is essential for healthy root development and plant growth after transplanting.
Key steps include:
- Watering Before Transplanting – Moistening the soil helps reduce transplant shock and supports root establishment.
- Choosing the Right Location – Ensure adequate sunlight, good drainage, and enough space for growth.
- Clearing the Area – Remove weeds, rocks, and debris to reduce competition and improve soil conditions.
- Soil Testing – Check pH levels and nutrient deficiencies to determine necessary adjustments.
- Amending the Soil – Add organic matter (compost, manure) for nutrients and moisture retention; use fertilizers if needed.
- Loosening the Soil – Till or fork the top 6-8 inches to promote root penetration.
- Preparing the Planting Hole – Dig a hole twice the width of the root ball, ensuring proper placement and avoiding water pooling.
Watering Requirements
Watering is essential for a plant’s successful establishment after transplanting. Too little or too much water can cause transplant shock, root rot, or poor growth. Key watering steps include:
- Plant-Specific Needs – Adjust watering based on plant type; water-hungry plants need more frequent watering, while drought-tolerant plants require less.
- Before Transplanting – Water the plant an hour before removing it to keep the root ball moist. Also, pre-water the transplanting site to help roots settle easily.
- Immediately After Transplant – Water thoroughly after planting to eliminate air pockets and ensure deep root hydration.
- First Few Weeks – Keep soil consistently moist, watering every 2-3 days depending on weather conditions. Avoid overwatering to prevent root rot.
- After Root Establishment – Reduce watering frequency but ensure deep watering to encourage strong root growth. Water when the top 1-2 inches of soil feels dry.
- Mulching – Apply mulch to retain soil moisture, regulate temperature, and reduce watering frequency.
- Signs of Over or Underwatering – Yellowing leaves indicate overwatering, while wilting or dry edges signal underwatering.
- Plant-Specific Needs – Adjust watering based on plant type; water-hungry plants need more frequent watering, while drought-tolerant plants require less.
Preparing for Transplanting
Choose Healthy Plants
Select healthy, disease-free plants with strong roots and vibrant foliage. Avoid transplanting weak or stressed plants, as they are more susceptible to shock.
Prepare the New Planting Site
Before moving your plants, ensure that the new location is ready. The soil should be rich in nutrients, well-draining, and free of weeds or debris. If necessary, add organic matter such as compost to improve soil quality.
Water Plants Before Transplanting
Water the plant thoroughly a few hours before transplanting. Well-hydrated roots are less likely to experience shock and will establish more quickly in their new location.
Dig the Right-Sized Hole
The hole should be twice as wide and slightly deeper than the root ball to allow proper root expansion. Loosening the surrounding soil helps roots penetrate more easily.
Steps for Transplanting
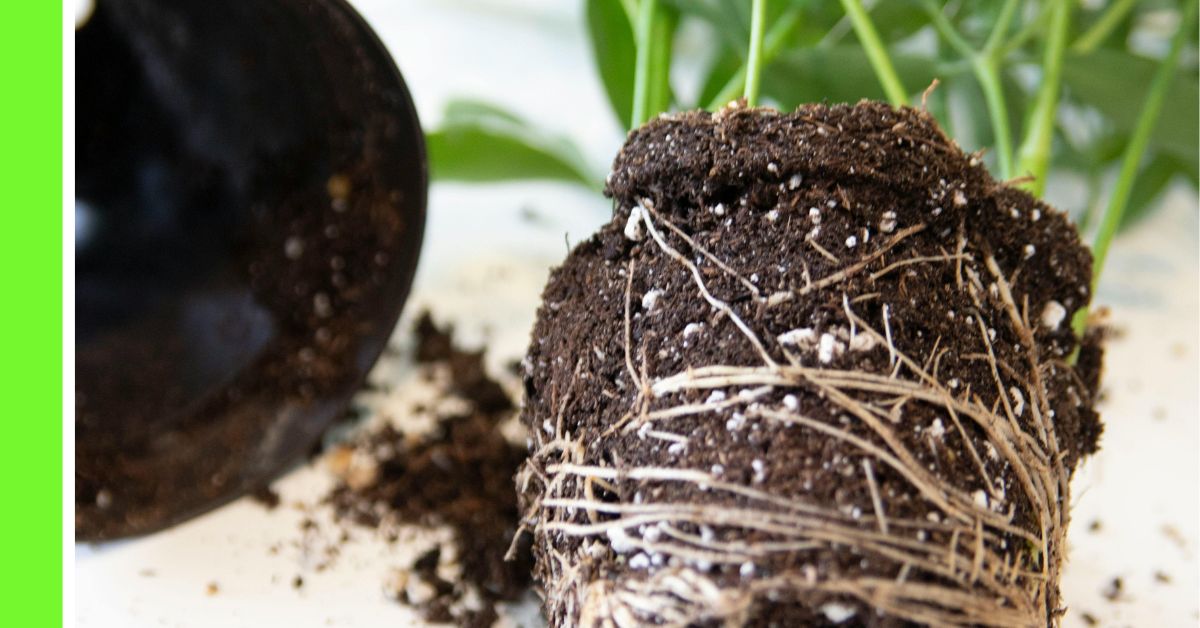
1. Carefully Remove the Plant
Handle the plant with care to avoid damaging the roots. If the plant is in a pot, gently squeeze the container or tap it to loosen the soil. For in-ground plants, use a spade or fork to lift the root ball with minimal disturbance.
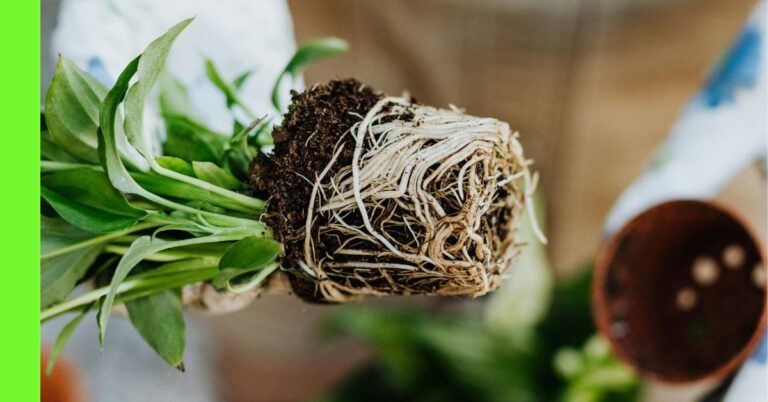
2. Inspect and Prune Roots
Check the root system for any damaged or excessively long roots. Trim unhealthy roots with sterilized pruning shears. If the roots are tightly bound, gently tease them apart to encourage outward growth.
3. Place the Plant in the New Hole
Position the plant in the hole so that the top of the root ball is level with or slightly above the ground surface. This prevents the plant from sinking after watering.
4. Fill the Hole with Soil
Gently backfill the hole with soil, pressing lightly to remove air pockets while ensuring the roots are not overly compacted. Air pockets can dry out roots, leading to transplant failure.
5. Water Immediately
Water the plant generously right after transplanting to help settle the soil and provide initial hydration.
Precautions
Taking the right precautions during transplanting can reduce stress on plants and improve their chances of survival. Here’s a detailed explanation of key precautions to follow:
- Avoid Transplanting in Extreme Heat or Direct Sunlight
- Transplanting during the hottest part of the day can cause plants to lose too much moisture and go into shock.
- Instead, transplant in the early morning or late afternoon when temperatures are cooler. Cloudy days are also ideal for transplanting as they reduce water loss.
- Do Not Expose Roots to Air for Too Long
- Roots dry out quickly when exposed to air, which can lead to transplant shock or even plant death.
- When moving a plant, handle it gently and minimize the time its roots are out of the soil. If necessary, keep roots moist by wrapping them in a damp cloth or placing them in water briefly.
- Ensure the Plant is Well-Watered Before and After Transplanting
- Watering before transplanting keeps the root ball moist and makes it easier to remove the plant without damaging roots.
- Watering immediately after transplanting helps the soil settle around the roots, eliminates air pockets, and provides essential moisture to help the plant recover.
- Use Mulch to Conserve Moisture and Regulate Soil Temperature
- A layer of mulch (such as straw, wood chips, or compost) helps the soil retain moisture, preventing it from drying out too quickly.
- Mulch also protects roots from extreme temperature changes, keeping the soil cooler in hot weather and warmer in cold conditions.
By following these precautions, you can reduce transplant shock, improve plant survival rates, and promote healthy growth in the new location.
Understanding Transplant Shock
Transplant shock occurs when a plant experiences stress due to changes in its environment, such as differences in soil, moisture, temperature, or root disturbance.
Symptoms of transplant shock include wilting, yellowing leaves, slow growth, and drooping foliage.
The severity of transplant shock varies depending on the plant type, transplant method, and post-transplant care.
The duration of transplant shock varies depending on plant type and environmental conditions.
Most plants recover within a few days to a few weeks, but larger trees or shrubs may take several months to fully establish.
Minimizing Transplant Shock
1. Mulch Around the Plant
Applying a 2-3 inch layer of organic mulch around the plant base helps retain moisture, regulate soil temperature, and suppress weeds.
Keep mulch a few inches away from the stem to prevent rot.
2. Provide Shade for Young Plants
If transplanting in sunny conditions, provide temporary shade using shade cloths or plant covers to reduce sun exposure and stress.
3. Avoid Overwatering and Underwatering
Keep the soil consistently moist but not waterlogged. Overwatering can suffocate roots while underwatering can lead to dehydration.
4. Use Root-Stimulating Solutions
Adding root-stimulating fertilizers, such as seaweed extract or diluted liquid fertilizers, can help boost root development and recovery.
5. Minimize Fertilization Initially
Avoid applying high-nitrogen fertilizers immediately after transplanting.
Instead, use mild organic fertilizers to encourage gradual root establishment before promoting foliage growth.
6. Reduce Foliage Stress
For large plants, consider pruning some leaves to reduce transpiration and moisture loss.
However, avoid excessive pruning, as leaves play a role in energy production.
7. Monitor for Pests and Diseases
Newly transplanted plants are more vulnerable to pests and diseases.
Regularly check for signs of infestation and address issues promptly.
What to Add to the Soil When Transplanting
Adding the right amendments to the soil can significantly improve transplant success. Some beneficial additions include:
- Organic compost – Enhances soil fertility and improves moisture retention.
- Bone meal – Provides phosphorus, which promotes strong root growth.
- Mycorrhizal fungi – Helps improve root absorption of nutrients and water.
- Epsom salt (sparingly) – Supplies magnesium, which supports chlorophyll production and root development.
Best Fertilizer for Transplant Shock
To aid in recovery, use fertilizers that encourage root growth and minimize stress.
The best fertilizers include:
- Seaweed extract – Contains growth-promoting hormones that help plants recover faster.
- Fish emulsion – A mild, organic fertilizer that supports overall plant health.
- Compost tea – Provides beneficial microbes that enhance soil fertility.
- Phosphorus-rich fertilizers – Such as bone meal or rock phosphate, which strengthen root systems.
Special Cases
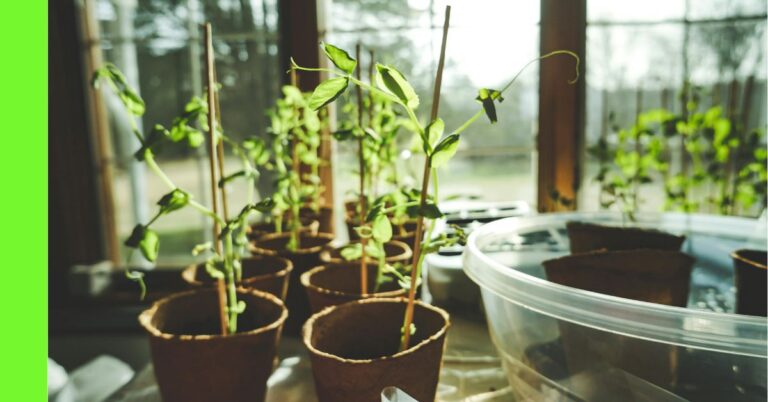
Transplanting Seedlings
- Harden off seedlings before transplanting by gradually exposing them to outdoor conditions for a week.
- Handle young plants gently, avoiding damage to delicate roots.
Transplanting Trees and Shrubs
- Ensure a larger root ball is intact to support the plant.
- Staking may be necessary for taller plants to prevent instability.
Transplanting Indoor Plants
- Use a well-draining potting mix suited for the specific plant type.
- Avoid excessive root disturbance when repotting.
Conclusion
Crop transplanting is an essential gardening and agricultural practice that, when done correctly, ensures the successful growth and survival of plants.
By selecting the right time, preparing adequately, handling roots with care, and following best post-transplant practices, you can minimize transplant shock and help plants establish strong, healthy roots.
With patience and attention, your transplanted plants will flourish in their new environment.