How to Care for Seedlings After Transplanting
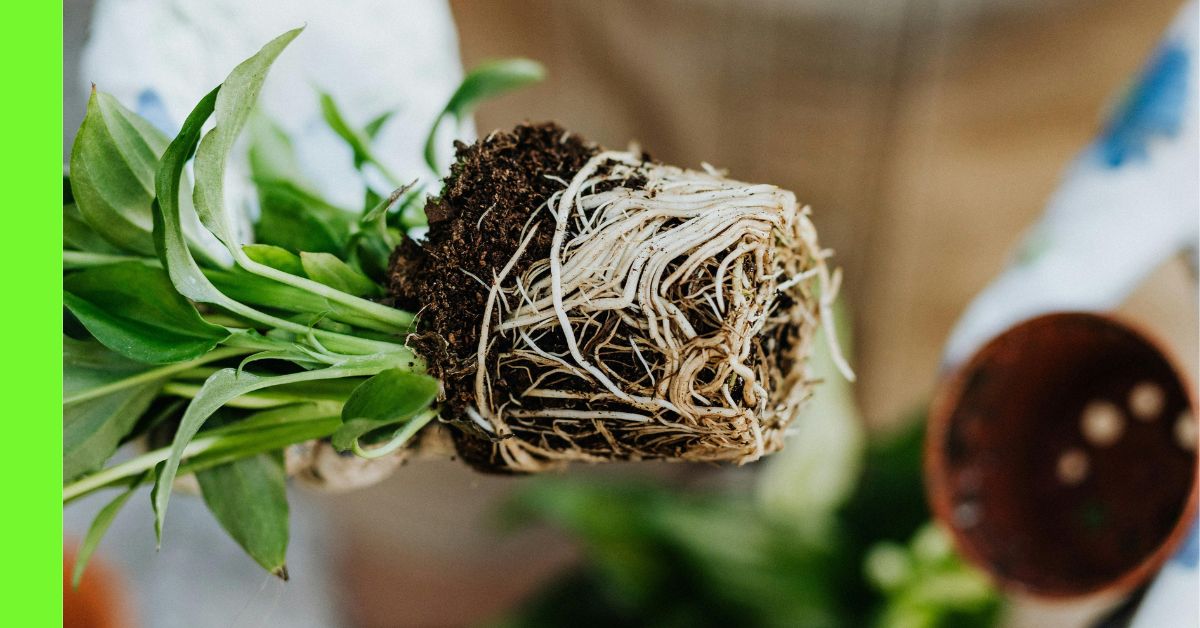
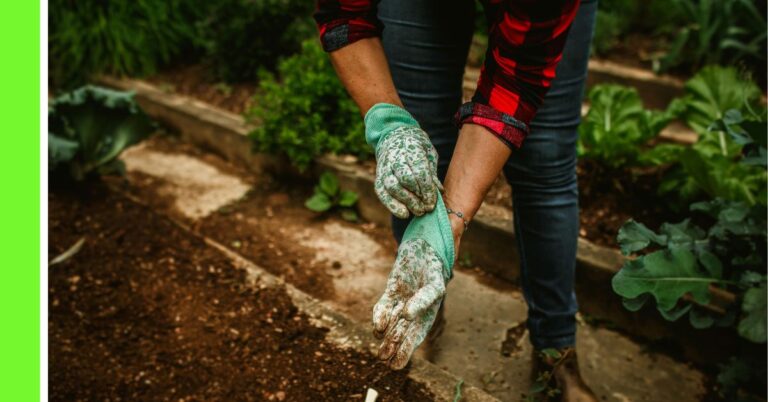
Transplanting seedlings is a crucial step in gardening and farming.
It involves moving young plants from a nursery or container to their permanent location in the soil or larger pots.
While transplanting marks a major milestone in a plant’s life cycle, it is also a delicate phase.

Improper care after transplanting can result in transplant shock, poor growth, or even death.
This article outlines best practices and essential tips for seedling care after transplanting to ensure healthy development and successful establishment.
1. Prepare the Soil Before Transplanting
The success of your seedlings largely depends on the condition of the soil into which they are transplanted.
Before moving seedlings to the new location, ensure the soil is well-prepared:
- Loosen the Soil: This allows for easy root penetration and promotes healthy root development.
- Add Organic Matter: Mix compost or well-rotted manure into the soil to enhance fertility and improve soil structure.
- Ensure Good Drainage: Avoid waterlogged areas; soil should be moist but not soggy.
- Test Soil pH: Most vegetables and flowers prefer a slightly acidic to neutral pH (around 6.0 to 7.0).
Proper soil preparation reduces transplant shock and provides seedlings with the necessary nutrients to grow quickly.
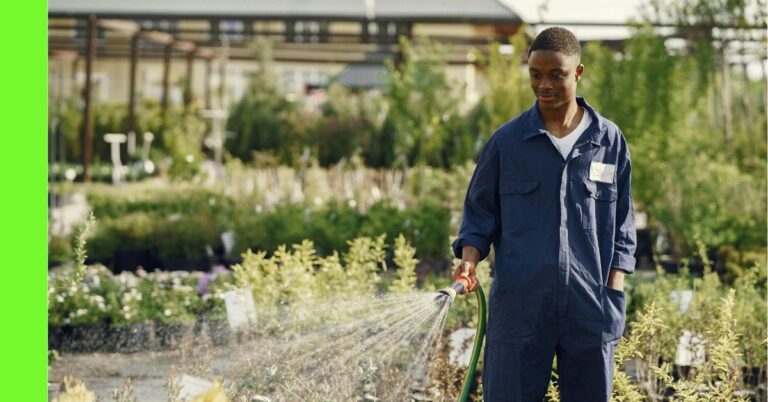
2. Water Immediately After Transplanting
Watering is the most critical care step after transplanting.
- Water Deeply: After placing the seedling into the ground, water thoroughly to settle the soil around the roots and eliminate air pockets.
- Keep Soil Moist (Not Wet): Continue to water regularly to maintain consistent moisture levels, especially during the first 1–2 weeks after transplanting.
- Avoid Overwatering: Too much water can suffocate roots and encourage fungal diseases.
In dry or windy conditions, seedlings may need to be watered twice daily until they establish.
3. Provide Shade and Wind Protection
Seedlings are fragile and susceptible to harsh environmental conditions.
- Provide Shade or Covers: Provide partial shade during the first few days to protect seedlings from direct sunlight.
- Create Windbreaks: Install temporary barriers such as plastic sheets or plant natural windbreaks to reduce wind stress.
- Transplant in the Evening or Early Morning: This reduces heat stress and gives plants time to recover in cooler conditions.
Reducing exposure to the sun and wind helps the seedlings adjust without being overwhelmed.
4. Minimise Transplant Shock
Transplant shock occurs when seedlings struggle to adapt to their new environment.
To minimise this:
- Handle Roots Gently: Do not disturb the roots as much as possible during transplanting.
- Water with a Mild Fertiliser Solution: A diluted compost tea can stimulate root development and reduce shock.
- Avoid Fertiliser Burn: Do not apply strong chemical fertilisers immediately after transplanting.
Plants may droop initially, but with proper care, they typically recover within a few days.
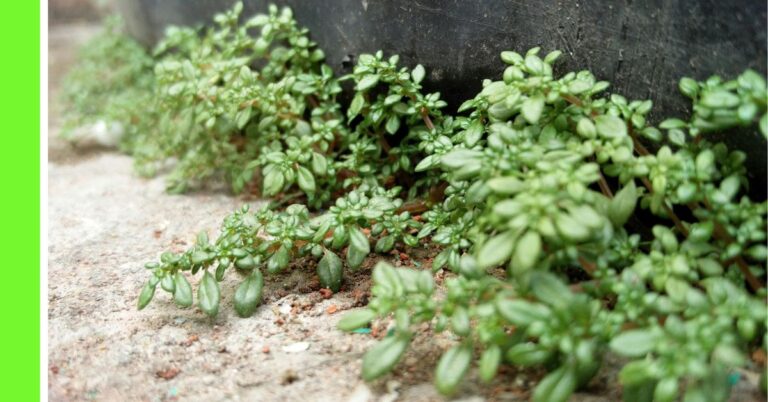
5. Mulch Around the Base
Applying mulch helps retain soil moisture, suppress weeds, and regulate soil temperature.
- Use Organic Mulch: Such as grass cuttings, or dry leaves.
- Leave Space Around the Stem: Keep mulch an inch away from the seedling base to prevent rot.
- Apply Lightly: Do not cover the soil too thickly to avoid overheating or smothering the plant.
Mulching is especially helpful in hot climates or during dry spells.
6. Monitor for Pests and Diseases
Newly transplanted seedlings are more vulnerable to pests and diseases.
- Inspect Daily: Look for signs of wilting, holes in leaves, or discolouration.
- Use Organic Controls: Neem oil or garlic sprays can manage pests safely.
- Install Physical Barriers: Use nets or row covers to keep insects and birds away.
- Remove Infected Plants Promptly: To avoid the spread of disease.
Maintaining plant health during this phase is essential for successful growth.
7. Support Weak or Tall Seedlings
Some seedlings, especially those that grow tall quickly, need support to stay upright.
- Use Small Stakes or Sticks: Tie the seedlings loosely with twine or soft ties.
- Install Supports Early: Do this before the plant gets too large or starts leaning.
- Train Growth Direction: Helps plants develop stronger stems and remain upright.
This is particularly important for crops like tomatoes, peppers, and climbing plants.
8. Fertilise Lightly After One Week
Once seedlings start to establish, they will need more nutrients to support their growth.
- Wait at Least 5–7 Days: Fertilising too soon can stress the plant.
- Apply Sparingly: Follow the recommended dose and avoid contact with leaves and stems.
Nutrient supplementation boosts vigour but should be done with care to avoid burning tender roots.
9. Thin Overcrowded Plants
If multiple seedlings were transplanted closely together, thinning might be necessary.
- Give Each Plant Space: Overcrowding leads to competition for water, nutrients, and light.
- Remove the Weaker Seedlings: Keep the healthiest and strongest-looking plants.
Thinning promotes healthy air circulation and better growth for the remaining plants.
10. Observe Growth and Adjust Care Accordingly
No two gardens or farm plots are the same. Pay attention to how your seedlings respond:
- Look for Signs of Stress: Wilting, yellowing, or stunted growth could indicate a problem.
- Adjust Watering or Light: Based on weather and plant needs.
- Reapply Mulch or Fertiliser as Needed: Depending on plant development and soil condition.
- Take Notes: Recording what works and what doesn’t can guide future transplanting efforts.
Regular observation is key to providing customised care that results in healthy, thriving plants.
Conclusion
Transplanting is only half the battle. The real work begins afterwards with proper seedling care.
By focusing on essential practices like watering, shading, monitoring for pests, and providing nutrients at the right time,
You significantly increase the chances of your seedlings surviving and thriving.
Whether you’re a home gardener or a small-scale farmer, mastering seedling care after transplanting ensures better yields, stronger plants, and overall gardening success.
Hope this article was helpful.