How To Plant Seeds, Seedlings, and Mature Plants
Planting is a fundamental part of gardening and agriculture.
Whether you are starting with seeds, seedlings, or mature plants, each plant requires specific techniques to ensure healthy growth.
This guide will walk you through the step-by-step process of planting at different growth stages, covering everything from soil preparation to post-planting care.

Understanding the Different Planting Methods
Before diving into the details, it’s important to understand the difference between planting seeds, seedlings, and mature plants.
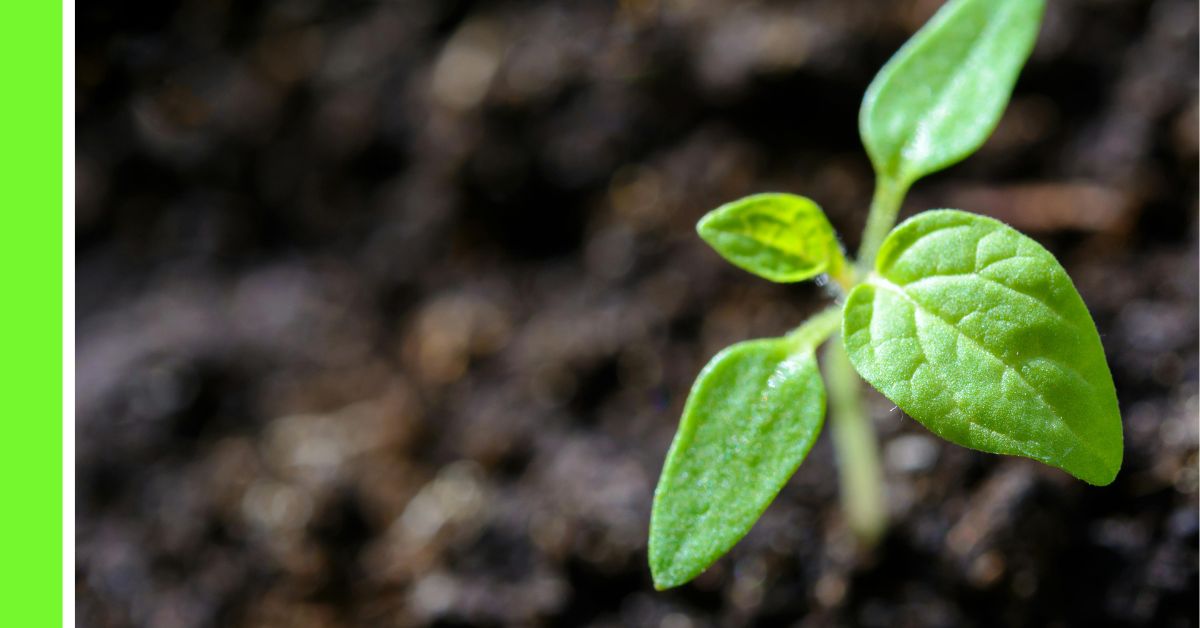
- Seeds: Small embryonic plants enclosed in a protective covering. Seeds require germination before they develop into a plant.
- Seedlings: Young plants that have already sprouted from seeds and have developed their first true leaves.
- Mature Plants: Fully developed plants that are transplanted to a new location, often for better spacing or improved growth conditions.
How to Plant Seeds
1. Choose the Right Seeds
Selecting quality seeds is the first step to successful planting.
Ensure you choose seeds suited to your climate and soil type.
Consider factors like germination rate and disease resistance.
2. Prepare the Soil
- Choose a well-draining soil rich in organic matter.
- Loosen the soil using a garden fork or tiller to allow proper root penetration.
- Add compost or organic fertilizer to improve soil nutrients.
- Ensure the pH level is suitable for the specific seeds you are planting.
3. Planting the Seeds
- Follow the recommended depth and spacing instructions on the seed packet, or you can search for a crop on our how to grow category to get this information about the crop.
- Dig small holes or furrows in the soil and place the seeds inside.
- Cover the seeds lightly with soil and gently press down to ensure good contact.
- Water the soil lightly to keep it moist but not soggy.
4. Germination and Early Care
- Keep the soil consistently moist during the germination period.
- Provide adequate sunlight; most seeds require at least 6 hours of direct sunlight per day.
- Protect the seedlings from pests and extreme weather conditions using mulch or row covers.
Do I Need To Soak Seeds Before Planting
Soaking seeds before planting can be beneficial, but it depends on the type of seed and the plant you’re growing. Here are the key points to consider:
When to Soak Seeds:
- Hard Seed Coat: Some seeds, like beans, peas, and certain flowers, have hard coats that prevent water from penetrating easily. Soaking these seeds can help soften the seed coat, speeding up germination.
- Enhanced Germination: Soaking can help improve germination rates by softening the seed coat and allowing moisture to reach the seed embryo more quickly.
- Large Seeds: Larger seeds like corn and pumpkin (ugbogoro) benefit from soaking as it helps them absorb moisture and start the germination process more effectively.
- Seeds with Dormancy: Certain seeds, such as those from trees or hard-to-germinate plants, may require soaking to break dormancy and encourage sprouting.
How to Soak Seeds:
- Soak Time: Most seeds should be soaked for 6 to 12 hours (overnight) but not longer. Soaking too long can lead to rot.
- Water Temperature: Use room temperature water to avoid shocking the seeds. For some seeds, warm water can be more effective, but it depends on the seed type.
When Not to Soak Seeds:
- Tiny or Delicate Seeds: Small seeds (like lettuce or carrots) or those with thin coats typically do not need soaking, as it can lead to damage or spoilage.
- Seeds That Are Sensitive to Moisture: Some seeds should not be soaked as they might begin to sprout prematurely.
Soaking seeds is a useful technique for seeds with hard coats or dormancy issues, helping them to germinate faster and more evenly.
However, it is not necessary for all seeds, and some may even be damaged by soaking.
It’s always a good idea to check the specific requirements of the seeds you’re planting.
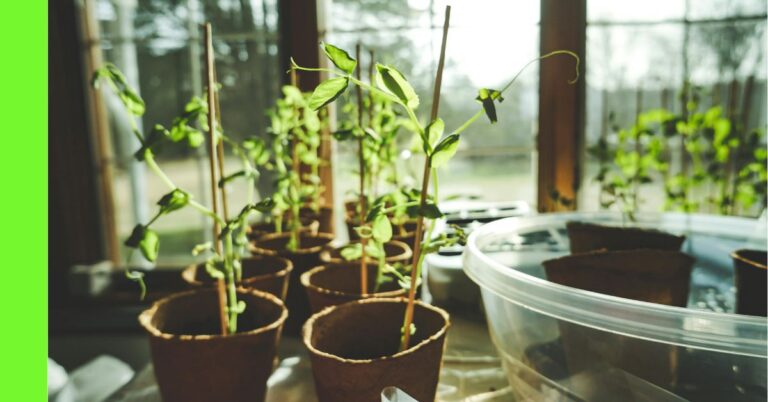
How to Plant Seedlings
1. Selecting Healthy Seedlings
- Choose seedlings with strong stems and vibrant green leaves.
- Avoid seedlings with signs of disease, yellowing leaves, or root-bound growth.
2. Preparing the Planting Site
- Ensure the soil is well-draining and enriched with compost or fertilizer.
- Dig a hole slightly larger than the seedling’s root ball.
- Space seedlings according to the plant’s specific needs to prevent overcrowding.
3. Transplanting the Seedlings
- Gently remove the seedling from its container, handling it by the leaves rather than the stem.
- Place the seedling in the hole and fill it with soil, making sure the roots are fully covered.
- Firm the soil around the base to remove air pockets.
- Water thoroughly to help establish the roots.
4. Caring for Newly Transplanted Seedlings
- Water regularly but avoid overwatering.
- Protect the seedlings from pests and extreme temperatures using mulch or shade covers.
- Provide support for taller plants with stakes or trellises.
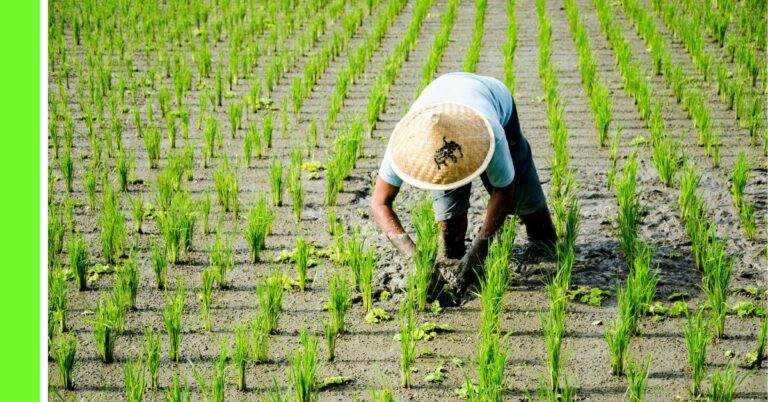
How to Plant Mature Plants
1. Choosing and Preparing Mature Plants
- Select healthy plants with a well-developed root system.
- Acclimate the plant to the new environment by gradually exposing it to sunlight and outdoor conditions.
2. Digging the Planting Hole
- The hole should be twice as wide and slightly deeper than the root ball.
- Loosen the soil at the bottom to encourage root penetration.
- Mix compost or organic matter into the soil for better nutrient availability.
3. Transplanting the Mature Plant
- Remove the plant from its container, keeping the root ball intact.
- Place the plant in the hole at the same depth it was previously growing.
- Fill the hole with soil and gently firm it around the roots.
- Water deeply to help the roots establish in the new location.
4. Post-Planting Care
- Water regularly, especially during the first few weeks after transplanting.
- Mulch around the base to retain moisture and suppress weeds.
- Prune dead or damaged branches to encourage new growth.
- Monitor for signs of stress, such as wilting or yellowing leaves.
Tips for Successful Planting
1. Timing Matters
The best time to plant depends on the type of plant and your climate.
Some plants thrive when planted in the rainy season, while others do better in the dry season.
Research the optimal planting season for each species to maximize growth and yield.
2. Soil Quality
Healthy soil is the foundation for strong plants.
Test your soil regularly to determine its nutrient content and pH level.
Enrich the soil with compost, manure, or organic fertilizers to maintain fertility and structure.
3. Proper Spacing
Overcrowding can lead to poor air circulation, competition for nutrients, and increased vulnerability to pests and diseases.
Always follow spacing recommendations to ensure each plant has enough room to grow and develop a strong root system.
4. Consistent Watering
Plants require a consistent water supply, but overwatering can lead to root rot.
Water deeply and less frequently to encourage deeper root growth.
The best time to water is early in the morning or late in the evening to prevent rapid evaporation.
5. Protection from Harsh Conditions
Newly planted seeds, seedlings, and mature plants can be sensitive to extreme temperatures, heavy rainfall, or strong winds.
Use mulch, shade covers, or row covers to protect them from environmental stress.
6. Pest and Disease Management
Regularly inspect plants for signs of pests and diseases.
Use natural pest control methods such as neem oil, companion planting, or introducing beneficial insects like ladybugs.
Remove diseased plants promptly to prevent the spread of infections.
7. Pruning and Maintenance
Regular pruning helps remove dead or diseased branches and encourages new growth.
Maintain a clean garden by removing weeds, fallen leaves, and debris to reduce the risk of pest infestations and diseases.
By following these planting techniques and care tips, you can ensure strong, healthy plant growth whether starting from seeds, seedlings, or mature plants.
Happy planting!
Hope this article was helpful.